Directional lighting / Studio lesson 03
Light for Tiny Subjects
Miniatures need light that describes shape, not light that simply makes everything brighter. Start with one source and watch how its direction changes the face, silhouette and painted finish.
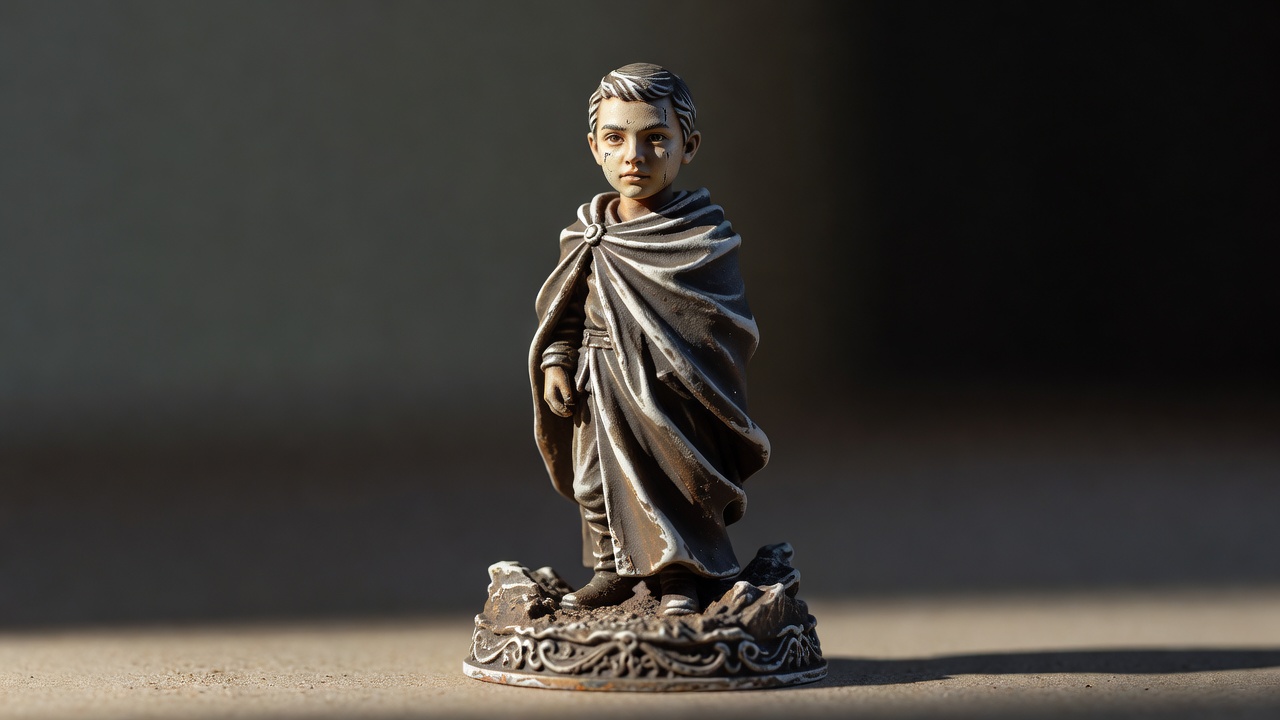
Study the boundary between light and shadow. It explains the shape more clearly than overall brightness.
Choose the view before placing the light
Turn the miniature until its important shapes separate. A weapon crossing the face or an arm merging with a cloak may remain confusing under excellent lighting. Lower the camera toward the figure's eye level for a character portrait, or raise it slightly when the base and upper surfaces matter. Make that decision first, because every camera move changes the visible reflections and silhouette.
Support the figure on a stable surface without touching delicate parts. Use a plain background far enough behind it to avoid a sharp, distracting cast shadow when possible. Keep the camera supported and make a neutral reference exposure. Inspect the face and the smallest important details at magnified view. Do not assume that a bright live preview means the final file is sharp.
Make one broad source do the work
Place a diffused source above and to one side of the camera. Around 45 degrees to the side is a useful experimental starting position, not a rule. Move it in a short arc and watch the nose, eye sockets and folds. Light from directly above may hide the eyes; light from directly beside the figure may split the face too harshly.
Softness depends on the apparent size of the source from the subject's position. A modest diffuser close to a tiny miniature can behave like a large source. Move it farther away and the shadows usually become more defined. Keep diffusion materials clear of hot lamps and follow the light manufacturer's safety instructions. A cool-running LED still needs ventilation and a secure stand.
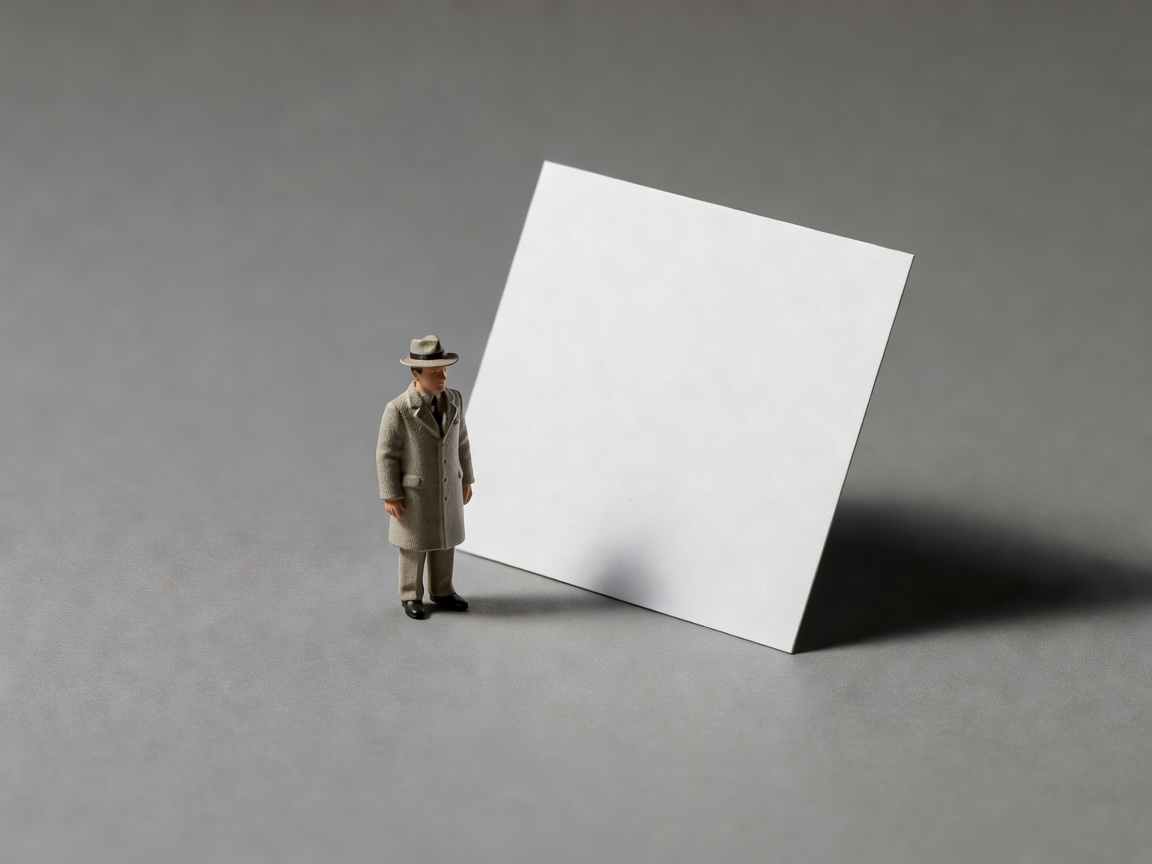
Add fill only where it helps
Put a small piece of white card opposite the main light. Bring it closer until a previously hidden detail becomes readable. Stop before both sides look equally bright. The remaining difference gives the miniature volume and makes the main light's direction understandable.
If the scene already feels flat, remove the reflector. A piece of matte black card outside the frame can reduce reflected room light on one side, creating negative fill. This is especially useful around pale surfaces or a white tabletop. Check the effect with test frames rather than judging solely by eye.
A second powered light is not automatically an improvement. Add it only when you can name a specific task, such as separating a dark shoulder from a dark background.
One-light study
Keep the subject still. Move the light.
- Make a frame with the source slightly above camera height and to one side.
- Move the source higher without changing the miniature. Compare eye sockets and the shadow under the chin.
- Return to the first position, then move the source farther sideways. Compare folds and surface texture.
- Choose the strongest version, then add only enough white-card fill to recover essential shadow detail.
Keep exposure comparable between frames. Otherwise a brighter version can seem better simply because it is brighter, not because its light describes the subject more clearly.
Control metallic paint and glossy varnish
Specular highlights describe shiny surfaces, so removing every reflection can make a metallic finish look dull. Instead, give the reflection a deliberate shape. A broad diffuser often produces a readable highlight strip rather than a tiny burned-out dot. Rotate the miniature a few degrees and compare the shoulder armor, blade or base rim. Small angle changes can move a reflection away from an important detail.
Watch the histogram and inspect bright areas in the saved image. Lower exposure if highlights lose information, but do not expect exposure alone to fix an oversized reflection. Metallic and nonmetallic paints respond differently, and a polarizer is not a universal cure. Keep some surface character so the photograph remains faithful to the painted object.
Separate focus from lighting decisions
Close working distances reduce depth of field. Focus on the feature that carries the portrait, usually the face, then check whether the hands and other significant shapes remain acceptably sharp. A smaller aperture may help on an adjustable-aperture camera, but excessive stopping down can soften fine detail through diffraction. Test rather than automatically choosing the smallest opening.
For a static figure, focus stacking can extend sharpness when your camera and editing tools support it. Keep the camera, miniature and light fixed, and make overlapping focus steps. Inspect the merged edges around weapons, fingers and transparent parts because stacking errors often appear there. A simpler single frame is preferable when the extra sharpness does not improve the image's purpose.
Keep the final scene believable
Before packing away, compare the photograph with the actual miniature under neutral light. Mood can be dramatic without disguising the paint colors or inventing detail. If the image is intended to document a paint job, prioritize faithful color and visible surface texture over theatrical contrast. If it is a creative study, make the treatment clear in the caption.
Record the light's approximate position and reflector distance with a setup photo. That record is more transferable than a copied shutter speed. Finish by removing isolated dust spots, protecting useful highlights and checking the final crop in the image-finishing workflow.
Protect detail in the edit →We use cookies Some cookies are needed for the site to work. Others help us understand how it is used. You can change your choice later. Cookie policy